![]() Major-Restore:
Replacement Floor Pans
Major-Restore:
Replacement Floor Pans ![]()
Page 5
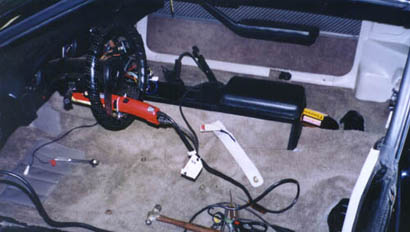
OK, finally, we are wrapping up. We laid down the rubber underlay mats (sound deadening material). Then, it was good to finally put the new carpet in. Even though it's molded carpet, it was folded and rolled up to fit in the box, so it still gave a fight getting put where it belonged. But, it went in alright considering. Considering I had to kick it into work with my mom's '88 Ford Tempo (with a weak 4 cylinder), it felt so good to think that night I was getting MY ride back. Oh yeah, and my dad was anxious to finally get his garage back after two weeks of this mess =)
Once again, I have to extend a thanks to my father and Mike Huelsman. They are the team that made this mess into a success!
What scares me is I have a few little screws left over after this project (and NO idea where they came from).
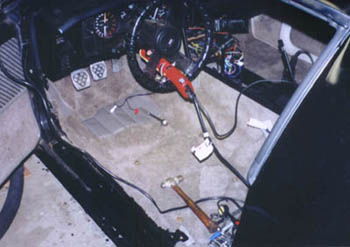
And for those wondering, that red thing hanging in the steering wheel is
a trouble light (many asked, so I thought I'd answer it now).
OK, I thought some of you may want to know my shopping list of supplies for this worked out to, so here it is with the actual amount we needed to do this mess:
Full Length Floor Pans (pair from Clasic Industries)
Replacement Carpet Carpet
Sound Deadener Underlay (thick rubber mats that go under the carpet)
2 Cans of Spary Paint
2 Cans of Rubberized Undercoating
1 Quart of POR 15
4 Tubes of Seam Sealer/Body Putty
To see the complete interior, click here to see my Mission: Replacement Trans-Am Seats project.
Floor Pan Project Pages:
Floor Pan Page 1
Floor Pan Page 2
Floor Pan Page 3
Floor Pan Page 4
Floor Pan Page 5 (Materials List)

Change Project
![]()
![]()