![]() Major-Restore:
Replacement Floor Pans
Major-Restore:
Replacement Floor Pans ![]()
Page 4
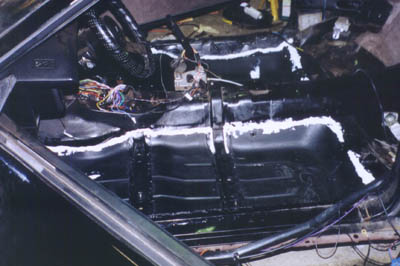
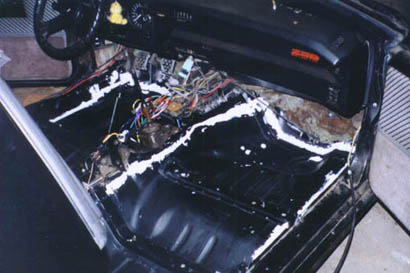
Well, let me explain what I learned when we got to the stage these pics are at. At this point, the top side of the floor pans were covered in the POR 15 undercoating system. The white outlines you see is seam sealer (also known as body putty). It's used to fill in the pin holes welds don't. Best way to know you covered the whole area is to place a light underneath and see where it shines through. After the sealer set, we applied some spray paint to protect the under coating material and cover the sealer.
Oh yeah, and the read circle is my foot print. I stood in the Camaro and bounced it up and down. Unlike when we started, it moved the whole car and not a section of the floor pan. I was quite pleased (before I did that, I was having my worries that the car went into the garage and was never coming out).
On the under side, my dad made some new mounts to hold the heat shield for the catalytic converter and welded those in. Also, the under side was treated with the POR 15 system, then the welds were coated with seam sealer. Lastly, the underside was sprayed with cans of the rubberized under coating that is sold at Super K.

Click Here to continue to Page 5 of this project!
Floor Pan Project Pages:
Floor Pan Page 1
Floor Pan Page 2
Floor Pan Page 3
Floor Pan Page 4
Floor Pan Page 5 (Materials List)

Change Project
![]()
![]()