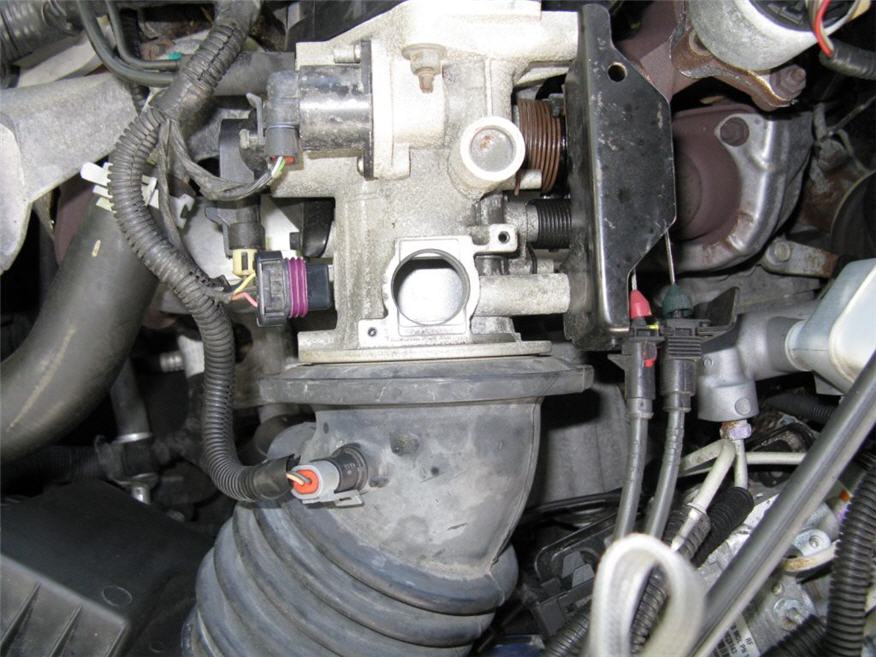
 2004 Chevy Monte Carlo SS
2004 Chevy Monte Carlo SS
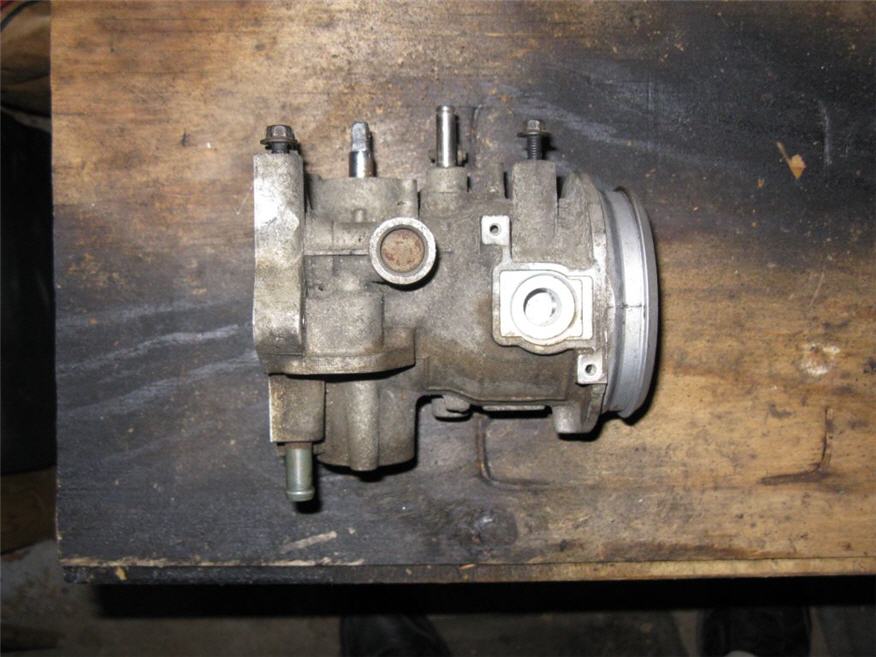
L67 Throttle Body
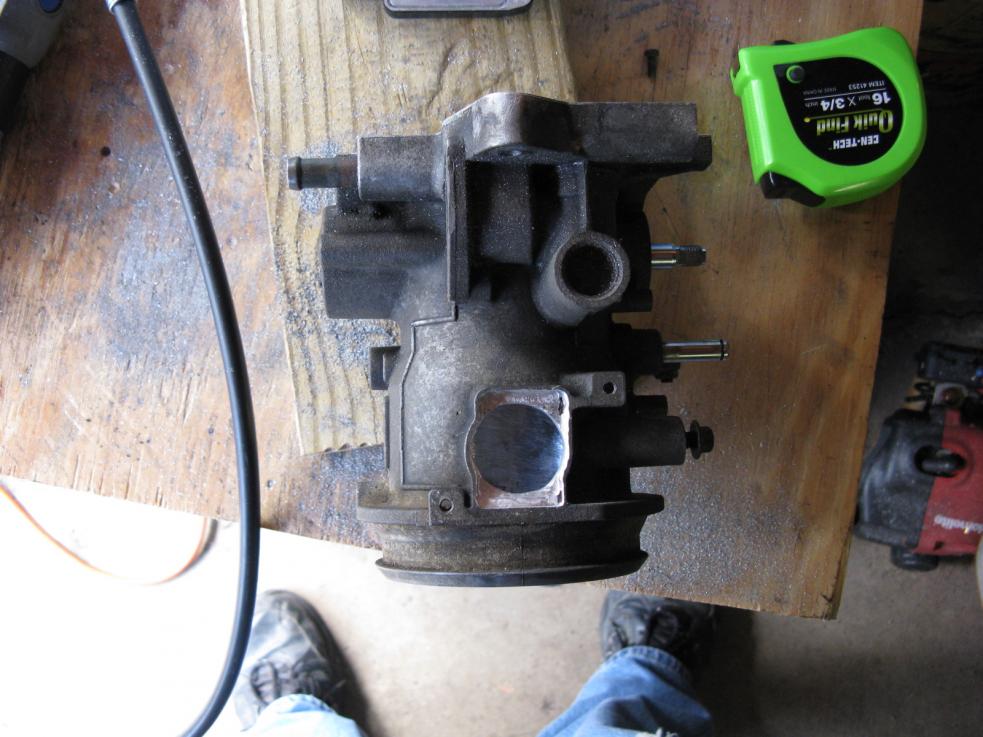
MAF Bridge Removal
Before I proceed, let me mention, I am sure more experienced people and people with access to better tools for this type of work could
probably do this more effectively. I had timied resources (and during the course of this project, I did buy new Dremel bits to
play with). Also, this is a good point to reminder everyone wear safety glasses!
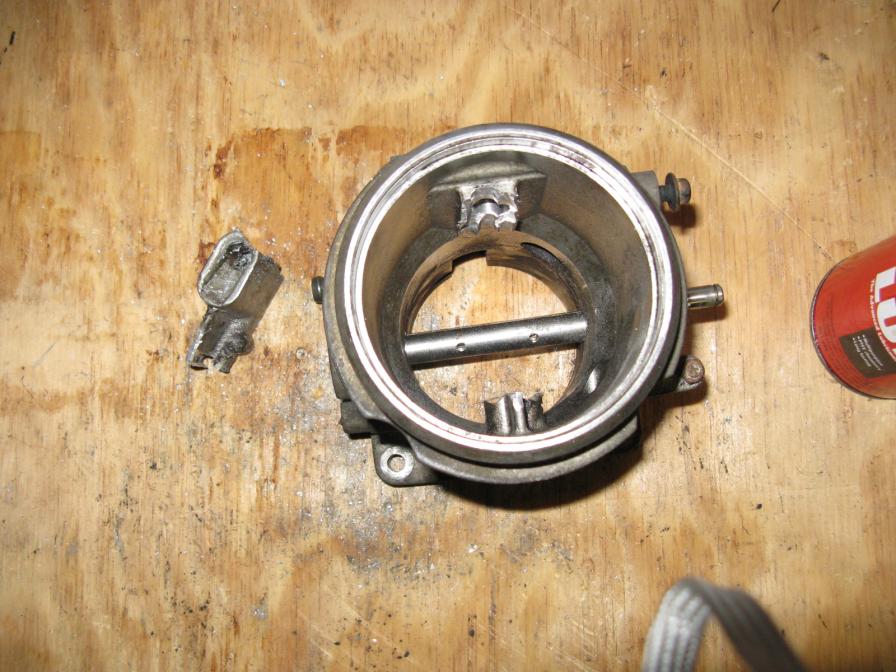
The first task I decided to take on was removing the MAF bridge. I chose this as my first task as I had a bunch of Dremel accessories,
but I was not sure what ones were the best for working the cast aluminum. I figured this was a part that would allow me to safely
experiment with those bits. First note, grinding stones of any type did not work well. They would change the texture
of the surface, but did not remove any significant amount of material and instead would become embedded with aluminum.
I was not able to find a saw blade in my inventory that was of much help (they were too big for the space or ran a high risk of scoring the inside
of the throttle body). To begin removing the MAF bride, I used a somewhat thin drill bit with my corded power drill. At
the top and bottom of the bridge, I drilled a series of holes. I got it to the point of where it was almost free. As
it turns out, my dad had a hand saw that was able to finish the job (but drilling the holes made it easier, less material to cut through).
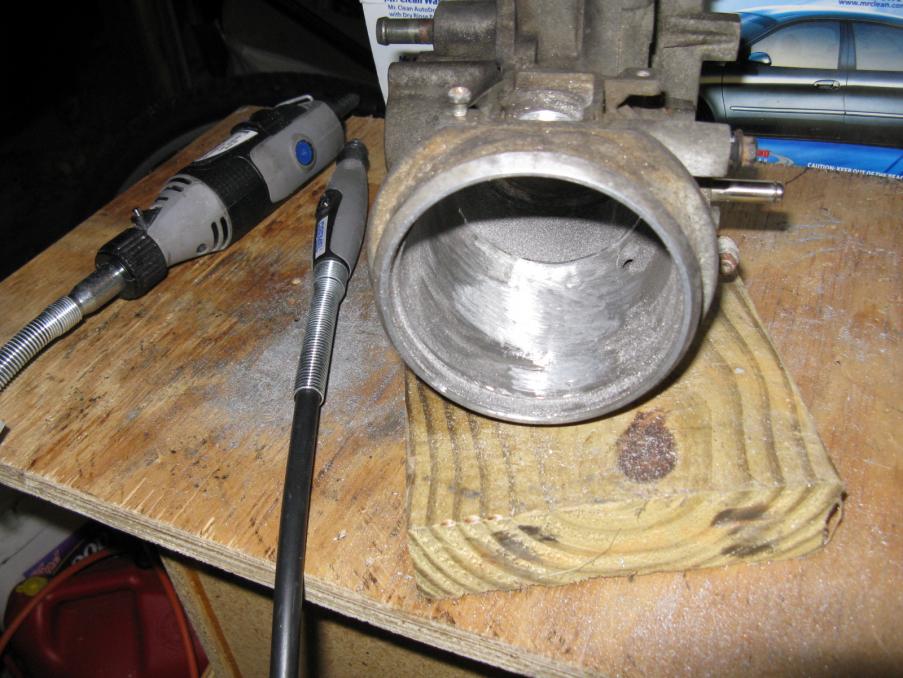
Once the main part of the bridge was removed, I used a variet of about three different types of Dremel high speed cutters for metal (I bought
specially for this task). Those worked GREAT! They took a while, but helped me remove the stumps.
Something to note here, is that I did not want to go crazy on the upper stump. I still needed to enlarge the MAF hole to
accomodate my MAF sensor, at which point, I would want to test fit the MAF and see where it lines up to try and smooth the stump so it meets
flush with the base of the MAF.
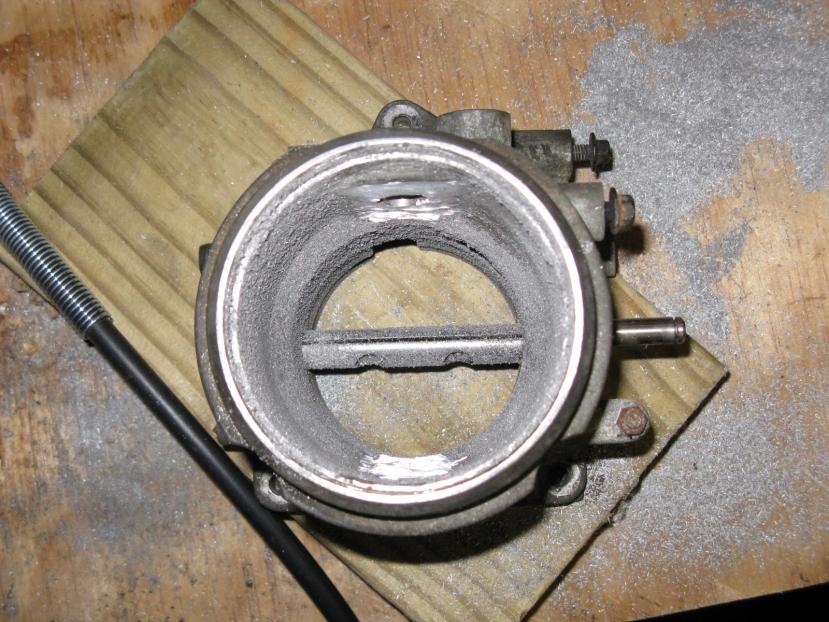
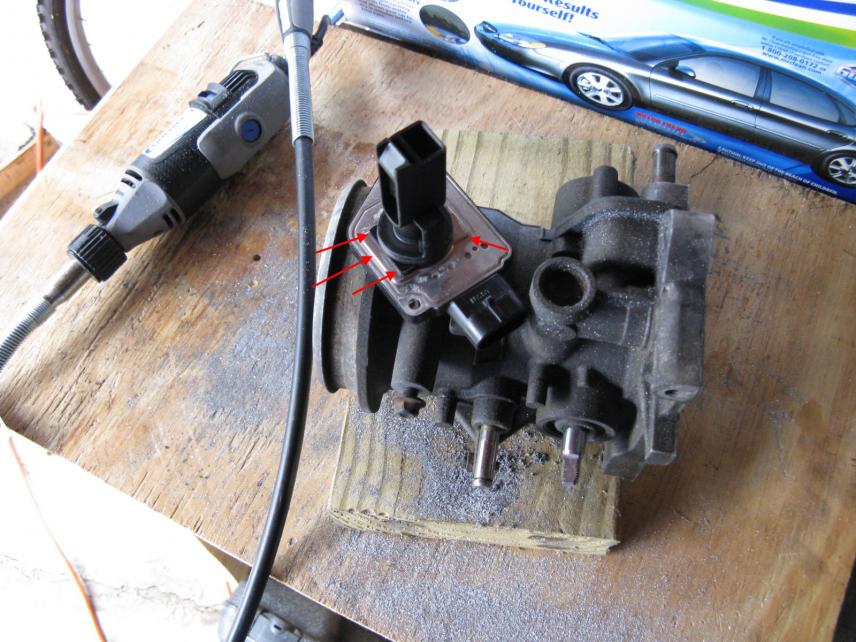
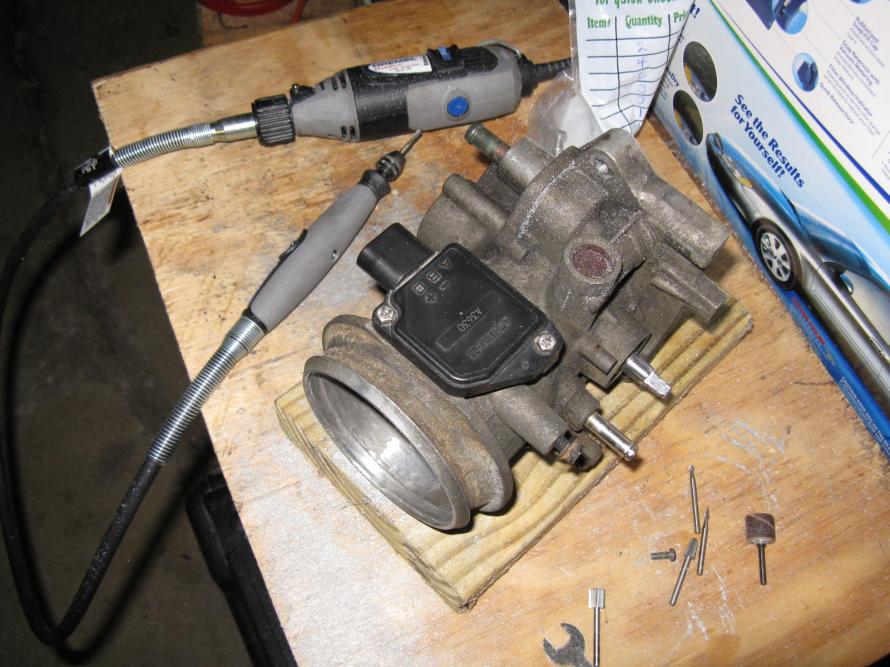
The next task was to enlarge the hole for the MAF. The pictures below will show you the MAF opening on my current thottle body, the MAF opening on the '97-'99 throttle body and lastly, after some modifications. This required help from my father and his drill press. He made use of a metal rasp that you can chuck into the drill press and slowly removed a little material at a time. DON'T be in a big hurry, take your time and use a MAF for test fitting (I did not have a spare, so I used the MAF straight off of my Monte Carlo). Something I noticed (and will discuss with the final set of pics on this page) is that the MAF has "steps" in it that the '97-'99 throttle body was not casted for. I found during test fitting when we finally had the opening large enough, the MAF was not seating as a result of these steps. The pic of the final product also shows how it was after I used the Dremel high speed cutter to fix the issue with seating the MAF (as a result of the "steps").
The first pic has arrows pointed at the "steps" I mentioned earlier on the MAF. The MAF for the '97-'99 throttle body has different steps and and if you notice in the above pics, the side walls of the seat for the MAF are different. I had to thin down the walls and the steps with a high speed Dremel cutter and a LOT of test fits. Once I could get to to where the MAF drops on and I can safely tighten the bolts (without the MAF appearing to seat unlevel), I was done with that part. In the last pic, you will see there is still a lot of material from the upper MAF bridge stump to grind down (goal is to make the top of the throttle body meet flush with the base of the MAF).

L67 Throttle Body Project Description
Donor Throttle Body
-->MAF Bridge
JB Welding
Exit Flare
Polished Inside
Painting
Final Product
