 2004 Chevy Monte Carlo SS
2004 Chevy Monte Carlo SS
Spring 2011 - Installing Performance Mods
Day 2
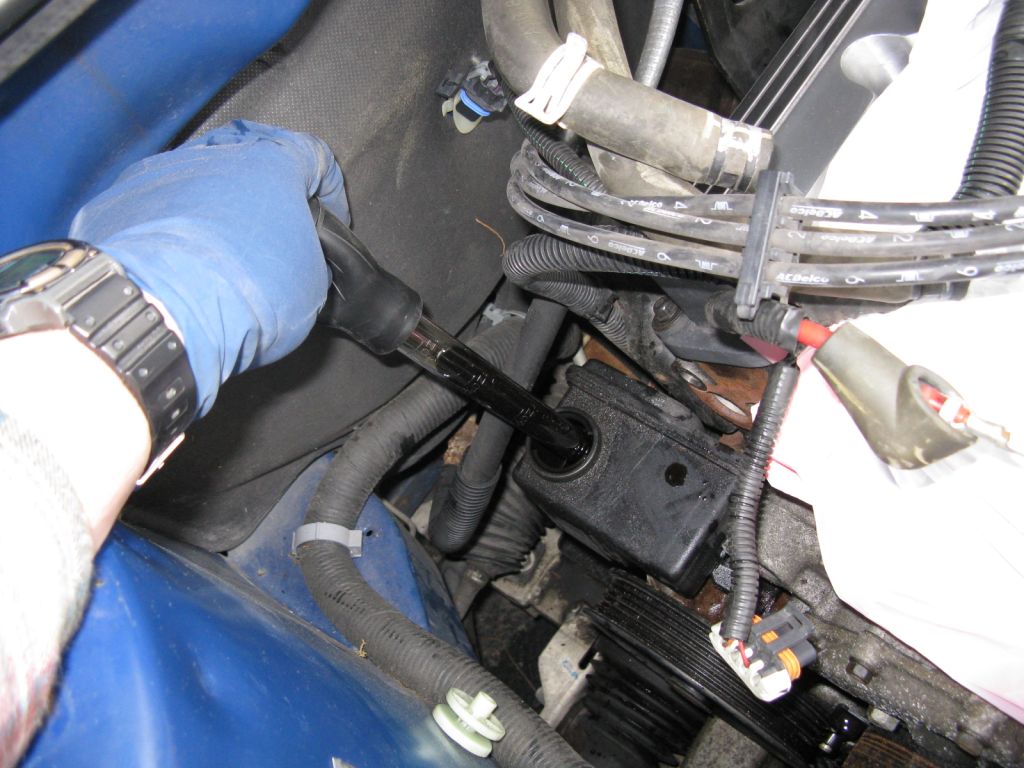
The day was not starting with the BEST outlook. Sky was a bit cloudy, weather report calling for off and on rain. I decided to start small and then move big. Since I currently have EASY access to the power steering reservoir, I decided to use a cheap turkey baster, and extract as much original power steering fluid as I can and then refill the reservoir with clean fluid. I know this is not the same as a "flush" of the power steering system, but I figured this was a quick and easy way to remove a resonable quantity of old/dirty fluid and introduce good clean fluid (better then not at all).
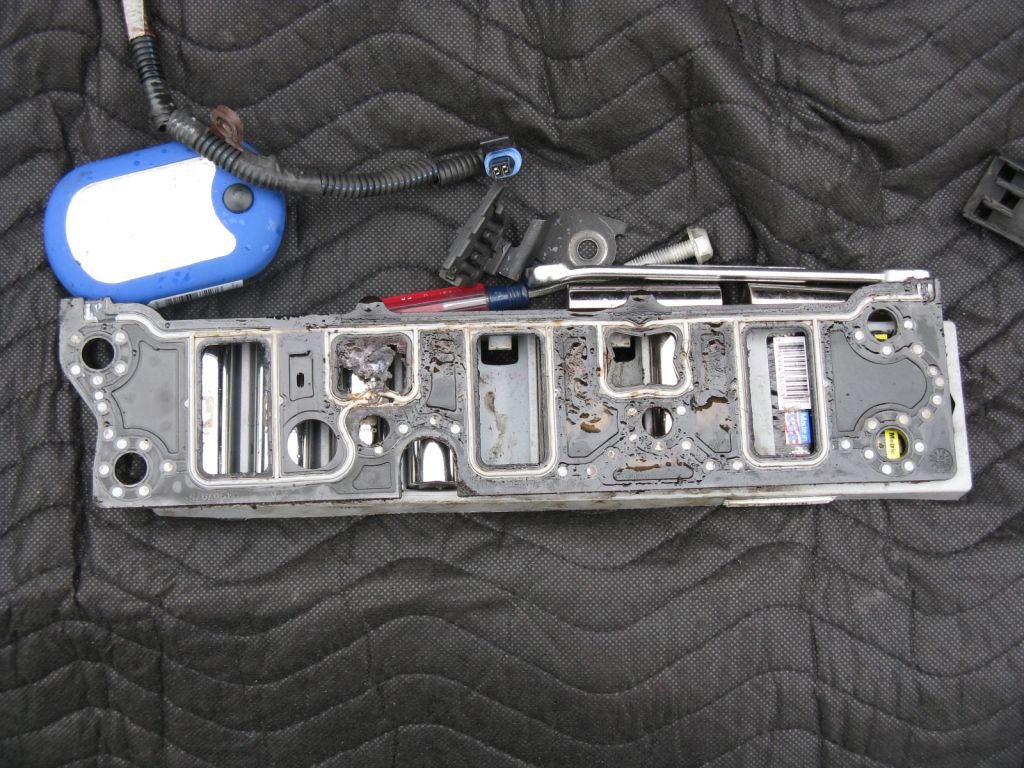
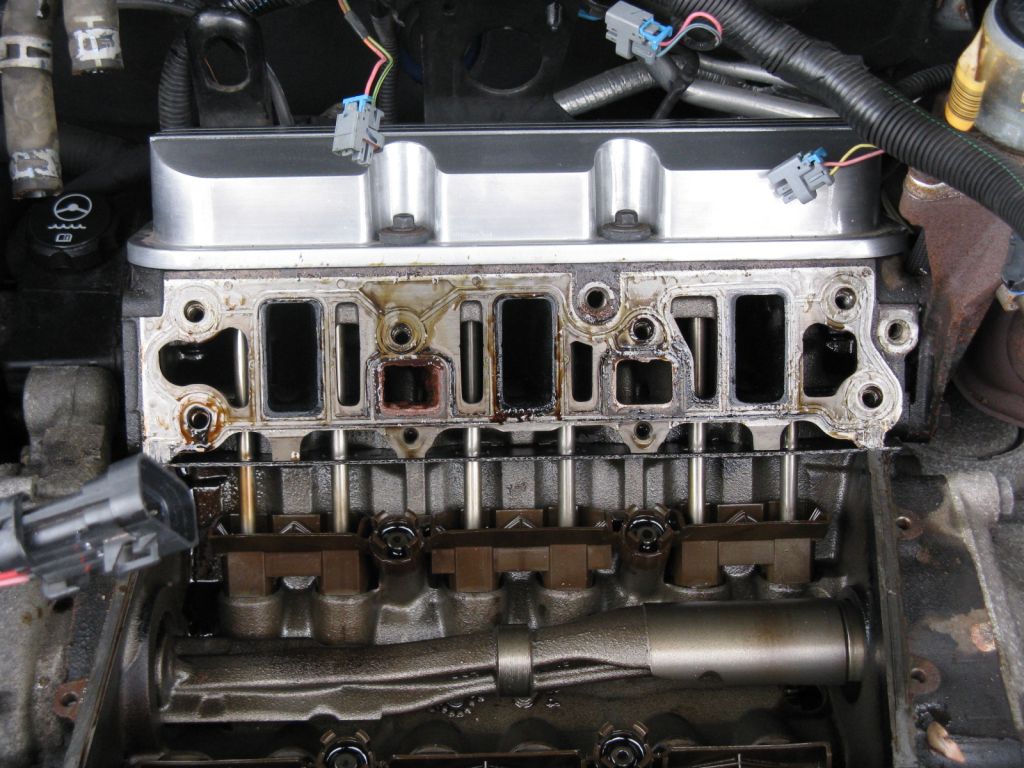
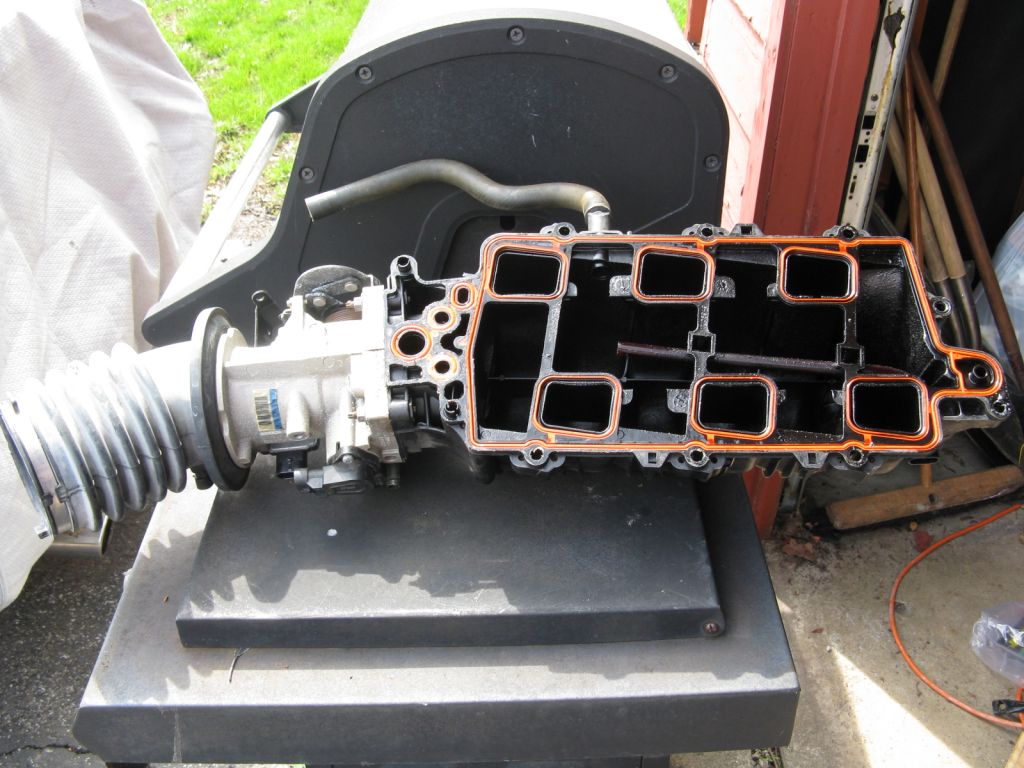
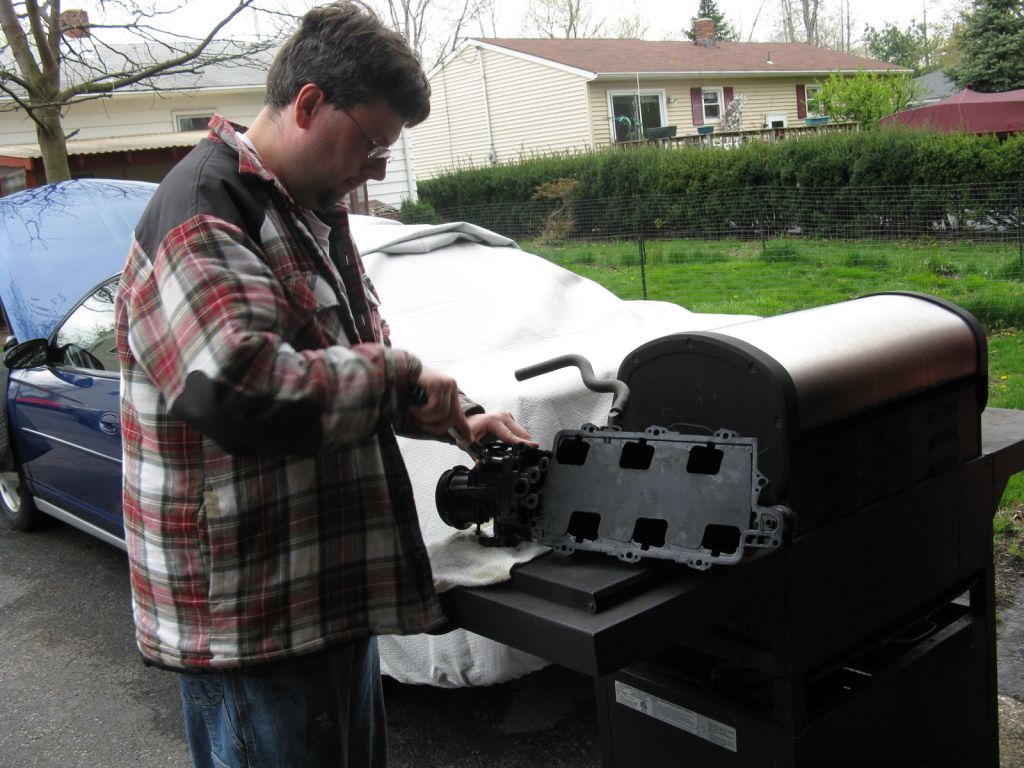
The weather began to look more optimistic and I got another late start. I continued with my mod installation. Next step was to remove the
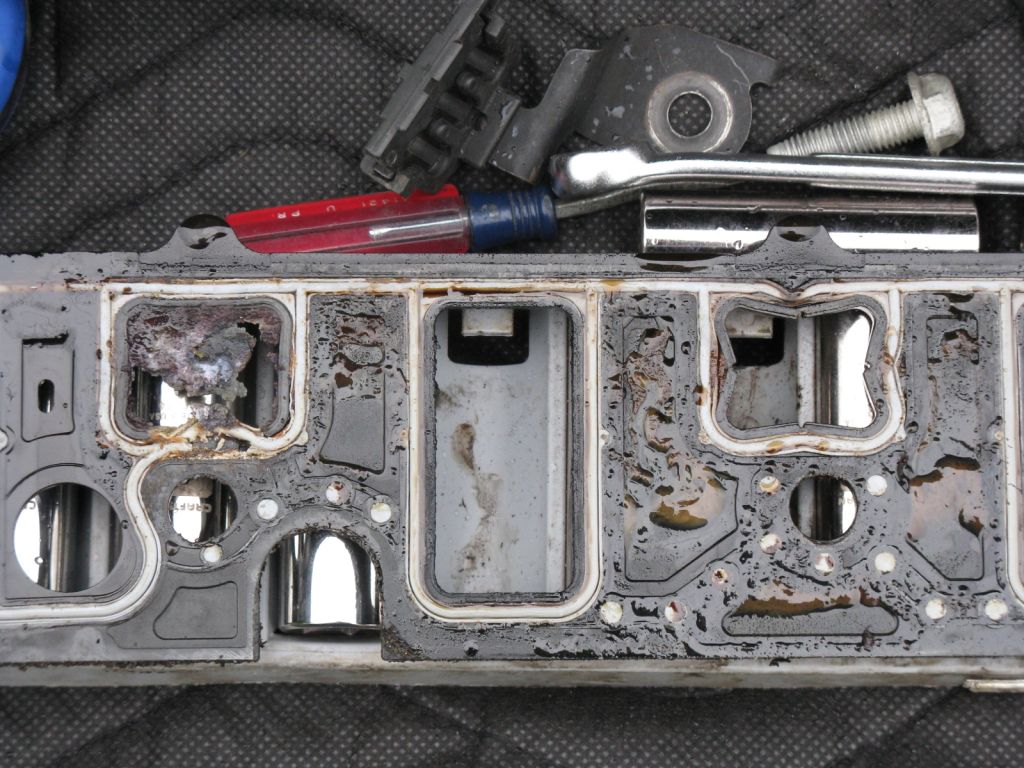
lower intake. I was somewhat surprised and not surprised to see the factory nylon lower intake gasket with 62,000 miles on it
was breaking apart around coolant ports. So on the plus side, it was clear this was going to become a problem soon and
has now been avoided.
Just as an FYI, many people believe this is a direct result of corrosive properties with
GM's DEX Cool (the orange anti-freeze). I am NOT a firm believed in that. I have seen multiple 3100 v6 engines that NEVER
ran DEX and develope the same problem. I believe the root cause to this is that the nylon cannot stand up over time to the
conditions it's put under with hot fluid, this is why re-installation, I am using the Fel-Pro aluminum lower intake gaskets (from all my
reading, those are much more durable).
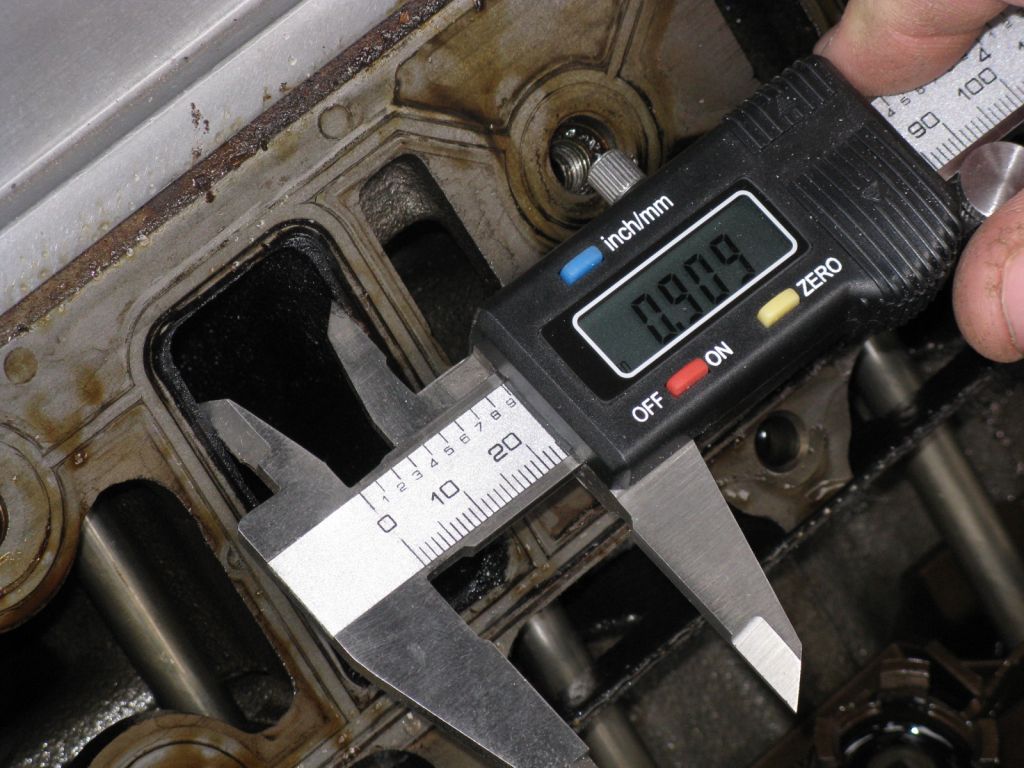
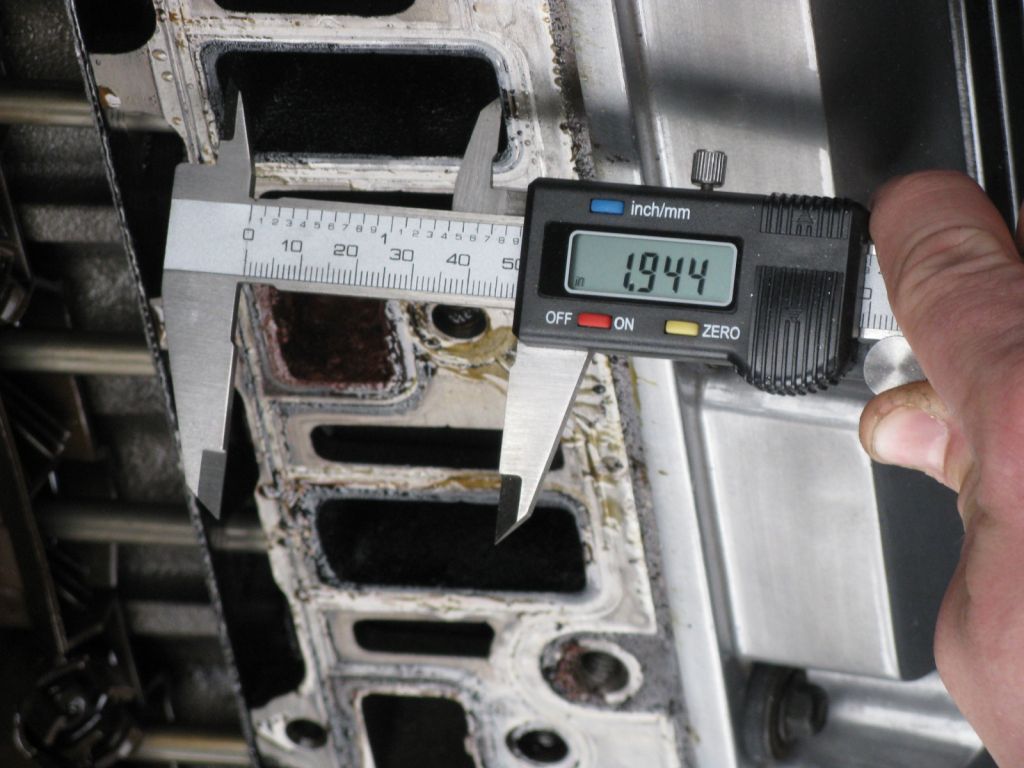
With the lower intake off, the ports on the heads are now exposed. I was curious now that I had access to the heads, what exactly are the dimensions of there ports. Per the assistance of the guys on the Bonneville forum, I had "port matched" a donor lower intake to match the measurements they provided. Per their informaton, the ports on the LIM needed to be .9"x1.9". Looking at the measurements I took, those dimensions from the Bonneville gang looks to be accurate to the heads.
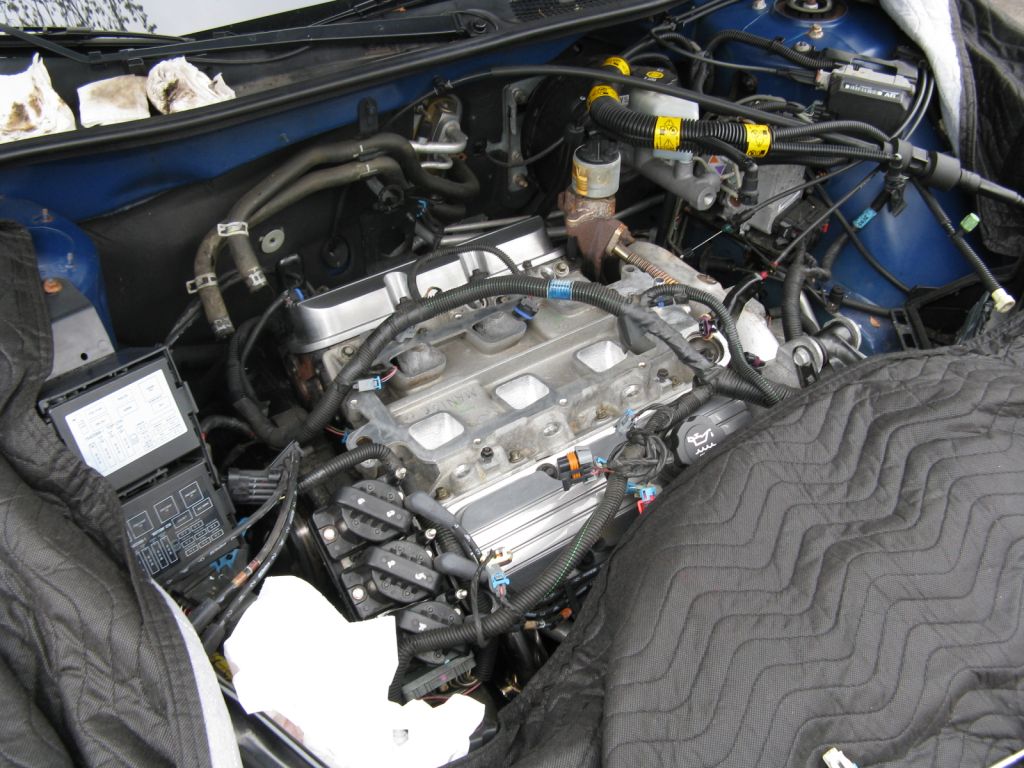
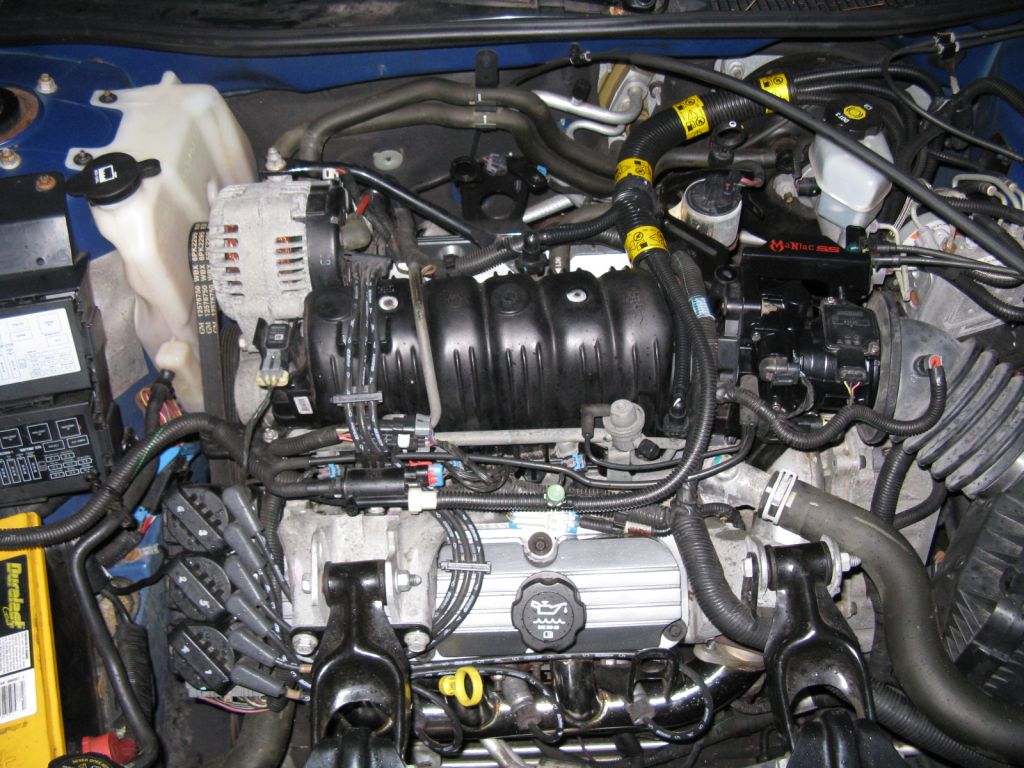
Finally seated and torqued in my modified lower intake. At this point, it was getting itchy to get this project wrapped up! And WOW, the lower intake I cleaned and prepped for this project looks really good.
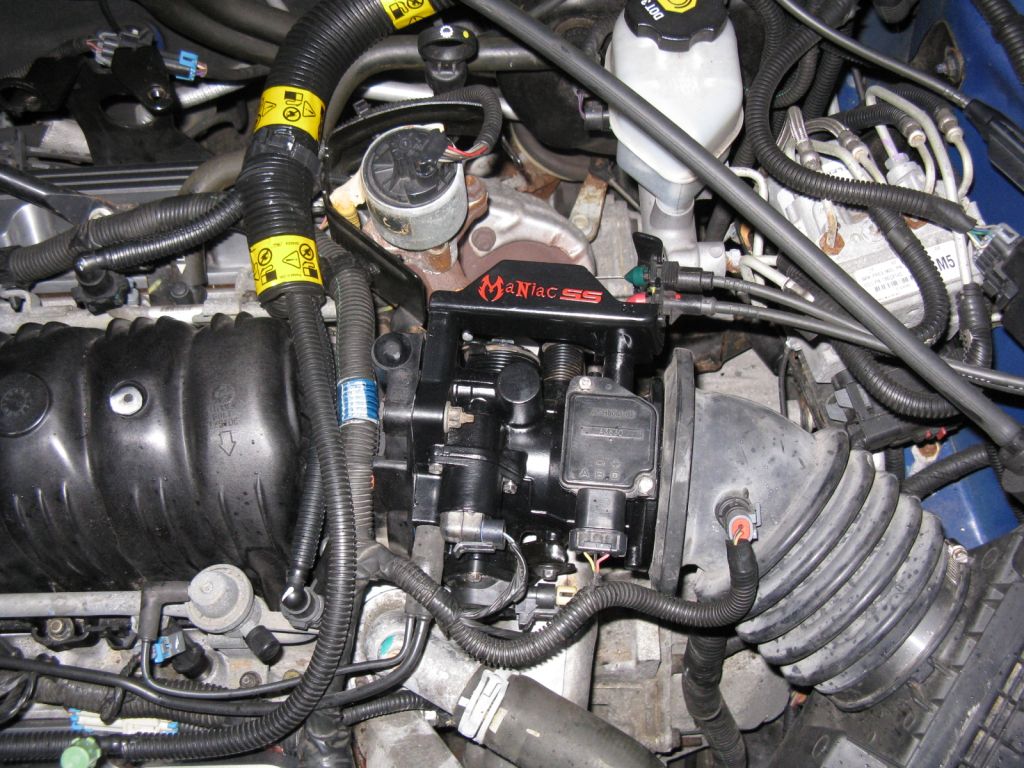
Last mods. The ZZP HV3 and and the L67 throttle body. Please note, I found the same findings 95naSTA shared with me,
the L67 throttle body alignment does NOT match up exact (the mounting holes for the throttle body need to be reshaped to pull the throttle body
up some, I will explain more in the Misc - L67 Throttle Body Alignment
section).
The HV3 requires removing the old upper intake gasket, which clips on to the upper intake to help hold the runners in the upper intake.
Once the gasket is removed, also remove the original runners inside the upper intake, you will no longer need them with the HV3.
Slide the HV3 into place, place the new gasket on. Next thing I did was install the L67 Throttle Body.
Now, I took this entire assembly and popped it back into place and continued re-assembly.
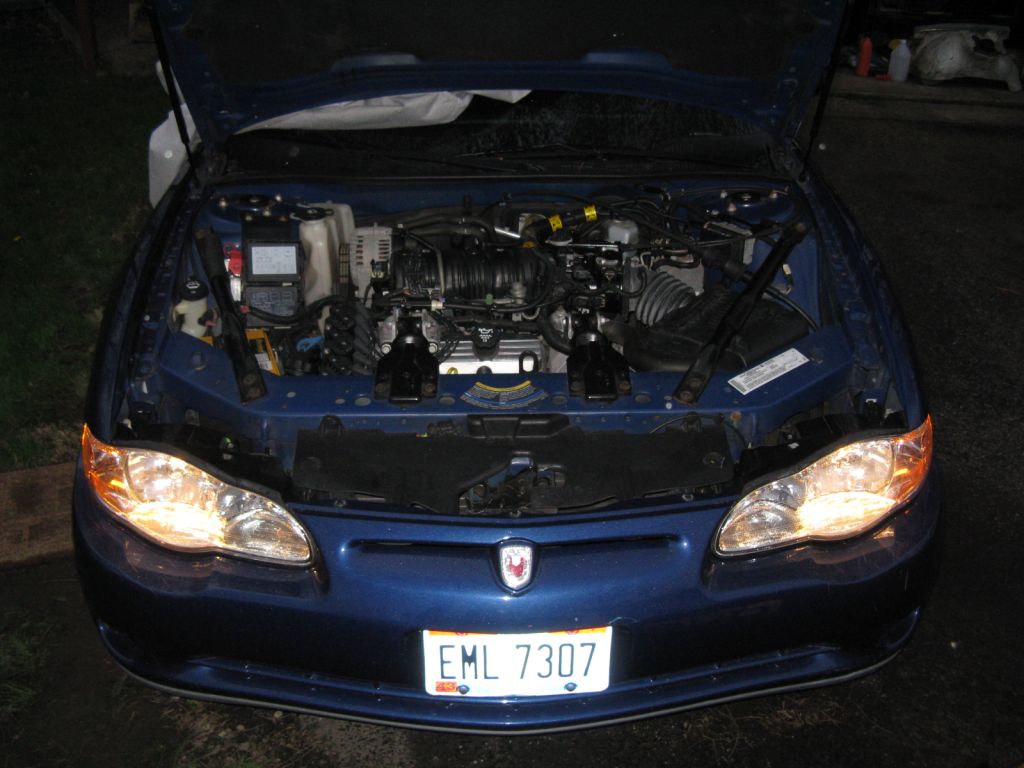
Finally, the hard work is DONE!! Everything is installed. The buzzkill to the entire process was that the car did not start because I had to perform a PCM re-learn with the new tuned PCM (takes about 30-60 minutes). Since the weather began to look like it was going to rain, I opted for that another day.
Main Page
Day 1
-->Day 2
Misc - L67 Throttle Body Alignment
Misc - Front Plug Wire Separators
