Painted Air Vents
![]() '94 Pontiac Grand Am SE
'94 Pontiac Grand Am SE ![]()
Painted Air Vents
To the best of my knowledge, GM only made the '92-'95 Grand Am with three different interior color packages (tan, light gray and charcoal grey). My '94 Grand Am happens to be the second Grand Am I have owned with the same charcoal interior. On top of that, at the time I did that project, I knew at least 4-5 other people with the same exact interior. I know it's a daily driver car, but it begins to make it become very boring when it seems like everyone has the same exact thing. So I decided to make a small interior mod.
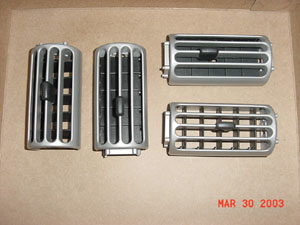
Thanks to a few web sites out there, I have seen some people give some pizaz by painting their interior and I have seen people do some disgusting looking things by painting their interior. I decided I would try the realm of painting part of my interior. I thoughgt a nice new set of air vents would be perfect. Before I did anything, I got my hands on a spare set of vents (so if I messed it up or did not like it, I could pop the originals right back in). Now I had to decide, what pattern to paint them in. I felt using the car's color (hunter green) may be too dark and not noticeable. I decided I wanted to paint the center part of the vents light grey and the end caps a dark grey (and leave the fins and adjuster alone).
Once I had my spare set, I had to figure out how to break them apart. I found that removing the fins and adusters were easy. Using a pocket screw driver, I could gently pry at the top and bottom plates holding the fins into the air vents. Then the fins would be supported by the top and bottom plates and I could rubber band the sets together. The adjuster came out by gently prying it with the pocket screw driver.
The hard part was seperating the end caps from the main vent. I found that the caps were held in by four posts (two of those posts were longer and used to hold the caps on, the other two were used to keep the caps from rocking). I used a couple of screw drivers to pry from the back of the vent and literally break the caps off (intending to epoxy glue everything back together when done).
I now had the vents seperated into their individual pieces (I found it hand to score the pieces with reference marks as to what pieces went to what vents, there are small but agrivating differences between the vents).
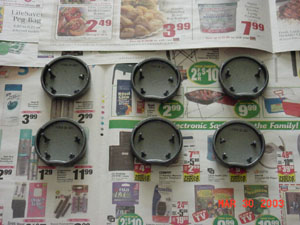
Once everything was seperated, I used a mixture of water and TSP powder with a scrubbing pad to clean the vents. So far (for over a year) this seems to have been perfect for prepping the plastic. I let all the vents dry over night, and after that, I set all the pieces out and primed them. I found to get complete coverage on the end caps, it was best to elevate them with towlette paper tubes. After priming, I painted and then clear coated.
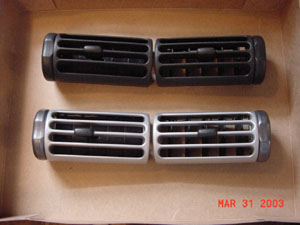
Once I was done clear coating, I let the materials sit for a couple of nights (giving ample drying time). I had to wides the holes for some of the posts with a power drill. Once I could get the posts of the end caps to slide in and out easily, I epoxy glued it back together. The fins snapped back in, but I found I needed to sand down some of the adjuster so it did not damage the paint (the paint and clear coat added just enough to the thickness to give the adjust problems).
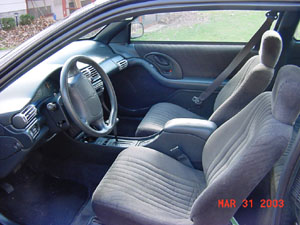
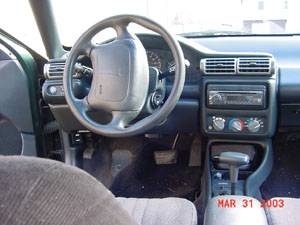
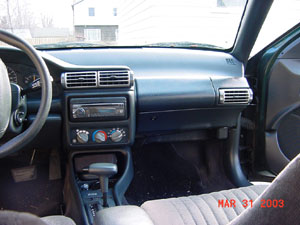
Once everything was back together, in the Grand Am it all went!!
I now present the pictures of my completed efforts: